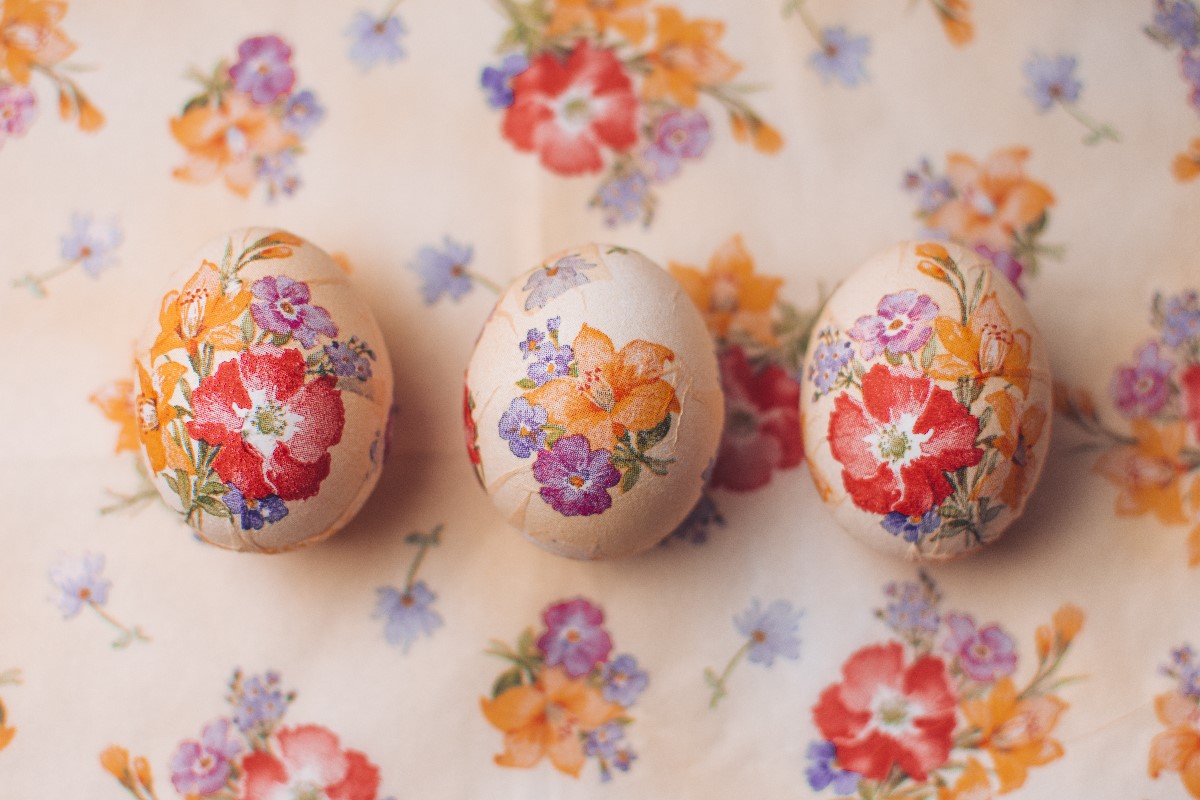
Decoupage Easter eggs are one of the best ideas for Christmas eggs. This method is extremely simple. Every layman can cope with it, and our holidays will become more charming
It is also easy for children to cope with it, so it is worth engaging them in making them. It’s good to spend time together not only on Christmas, but also just before it
To make Easter eggs you need
If you are using styrofoam eggs, you will need
This method works great with real hard-boiled eggs. At the beginning you should prepare all the required accessories. Then you can proceed to work
At first, you need to cut out the pattern of your choice from the tissue. It is the one that will decorate your Easter eggs. If you have chosen napkins with a white background, you do not need to do it very carefully. The background of the pattern and the shell will aesthetically blend together. The napkin must be as thin as possible, which means that you should separate the other layers from it. Leave only the part with the most visible pattern
Gently press the pattern onto the surface of the egg. It should not stick out anywhere. Do it carefully enough not to damage the napkin. Next, take a soft bristle brush in your hand and start applying a thin layer of glue to the graphic. Start from the center of the design and work your way toward the edges. If your tissue gently creases-don’t try to correct it
Once the glue is applied, it should not be visible. Read the drying time for the glue. The egg should be set aside for these hours. Once the appropriate time has passed, you can move on to step #3
Once the glue is dry, you can start applying the varnish. Paint the surface of the egg with varnish several times. The border between the egg shell and the napkin must be blurred. Leave the whole thing to dry. That is all! Your first decoupage egg done!
Decoupage Easter eggs can also be created from styrofoam eggs. The process is very similar, except that the fake egg can be stuck on a long toothpick. Thanks to this access to it is easier, there is also no risk that the pattern will get damaged
If our egg is not completely white in color, we can use a primer. Before applying the pattern, cover the whole egg with a thin layer of glue and then paint it with white acrylic paint. After it dries, we proceed as described above
Decoupage eggs with floral patterns are one of the basic elements of the Easter basket. Several decades ago our grandmothers put such eggs in the basket. Back then in fashion were not yet hares and chickens. Styrofoam Easter eggs in decoupage style can be used as an element of festive decor, such as sticking them in cress or flower pots. You can glue ribbons to the egg shells and hang them in the window. They will be an unusual accent for Easter!